Do you struggle with cleaning the windows in your home? Are there hard-to-reach spots that always seem to have streaks and grime? Removing the window for cleaning might be the solution you need.
While it may seem daunting, with the right tools and steps, you can easily remove and clean your windows for a crystal-clear view.
Before you begin, gather the necessary tools and materials, including a screwdriver, putty knife, glass cleaner, and a soft cloth. It’s also important to take safety precautions, such as wearing gloves and protective eyewear.
With these in hand, you’ll be ready to prepare for cleaning, remove the window frame and pane, clean the pane thoroughly, replace the pane, and reinstall the frame.
With these steps and tips for success, you’ll have a sparkling clean window in no time.
Preparing for Cleaning
 Before you start, make sure you’ve got all the necessary tools, like a screwdriver and cleaning supplies, to get your window ready for a deep clean!
Start by closing the window and locking it to ensure that it won’t accidentally swing open while you’re working on it.
Next, check the exterior of your home to make sure that it’s safe to remove the window. Look at the roof and siding to see if there are any loose or damaged areas that could fall and cause injury. If you spot any issues, make sure to take care of them before proceeding.
Now it’s time to get your equipment ready. Grab your screwdriver and carefully remove any screws or bolts that are securing the window to the frame. Be sure to hold onto the window as you remove the final screw or bolt so that it doesn’t fall out and break.
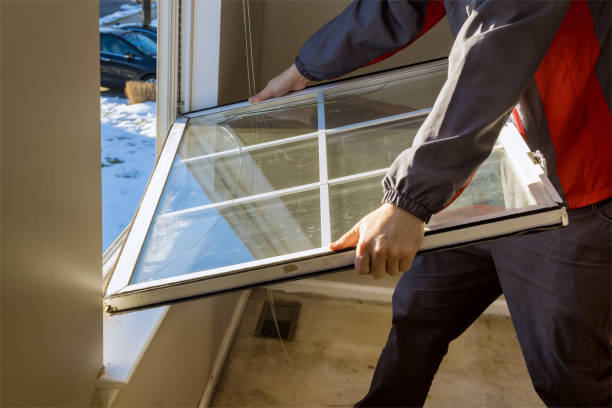
Once the window is free, carefully lift it out of the frame and set it aside. You can now proceed with the exterior cleaning and maintenance before replacing the window.
Removing Window Frame
First, you’ll want to locate the small metal clips holding the window frame in place. These clips can be found on the side of the frame and may require a screwdriver or pliers to remove.
Once the clips are removed, gently lift the window frame out of the window sill and set it aside. It’s important to be careful when removing the window frame to avoid damaging the glass or the building structure.
If you’re not comfortable removing the frame yourself, consider hiring a professional window cleaning service to do the job for you. Regular window cleaning is important for maintaining the appearance and value of your house or building, so don’t hesitate to seek out help if needed.
Removing Window Pane
Now that you’ve successfully removed the window frame, it’s time to get to work on removing the window pane itself – don’t worry, it’s easier than you might think!
First, you’ll need to locate the screws or clips that are holding the window in place. These are usually found on the sides or bottom of the window. Once you’ve located them, use a screwdriver or pliers to remove them, being careful not to drop them or lose them.
Next, gently push the window pane out of the frame. Be sure to support it with your hand or another object so that it doesn’t fall and break. If the window pane is stuck, you may need to use a putty knife or other tool to carefully loosen it from the frame.
Once the window pane is removed, you can clean it with a window cleaner and a soft cloth. If you have a high roof or hard-to-reach areas, consider hiring pressure washing services to clean your windows, roof, siding, stucco, tile, and more.
Cleaning Window Pane
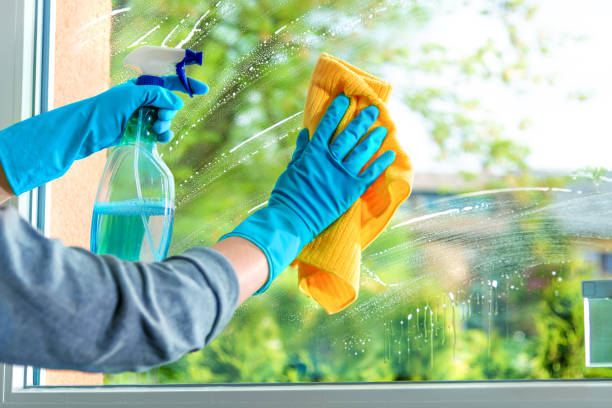
To achieve a spotless shine, you’ll want to spray a generous amount of glass cleaner onto the window pane and wipe it down with a microfiber cloth, making sure to reach all the corners and edges. Don’t forget to wipe the window sill and frame as well. If there are any stubborn spots, use a scrubbing pad or razor blade to gently remove them.
After cleaning the window pane, take a look outside and see if there is any visible dirt or grime on the gutter, roof siding, patio, deck, or lawn. If there are, it might be a good idea to give them a quick clean as well.
A pressure washer or garden hose can be used for these outdoor surfaces. By keeping your windows and outdoor areas clean, you’ll not only enhance the appearance of your home but also prolong their lifespan.
See Clearly with Signature Window Washing! We are the trusted window cleaners Denver relies on for crystal-clear views. Our professional team provides top-notch window cleaning services for residential properties. Say goodbye to streaks and smudges with our expert residential window cleaners. Experience the Signature touch for unmatched Denver window cleaning excellence!
Replacing Window Pane
 When replacing a window pane, you’ll need to carefully measure the dimensions of the opening and then remove any broken glass or debris before installing the new pane. It’s important to wear gloves and eye protection during this process to avoid injury.
Once the old pane has been removed, use a putty knife to remove any old putty or adhesive from the window frame.
Before installing the new pane, make sure the area around the window is clear of any obstacles such as gutters, roof siding, patio furniture, decks, or fences. This will make the installation process easier and safer.
Once the new pane is in place, apply a new layer of putty or adhesive around the edges to secure it in place. With these steps, you’ll have a clean and functional window in no time.
Reinstalling Window Frame
First, you’ll want to make sure the area around the frame is clear of any obstacles before reinstalling it. This means removing any outdoor furniture, patio or deck decor, and ensuring that the roof and siding are not obstructing the space.
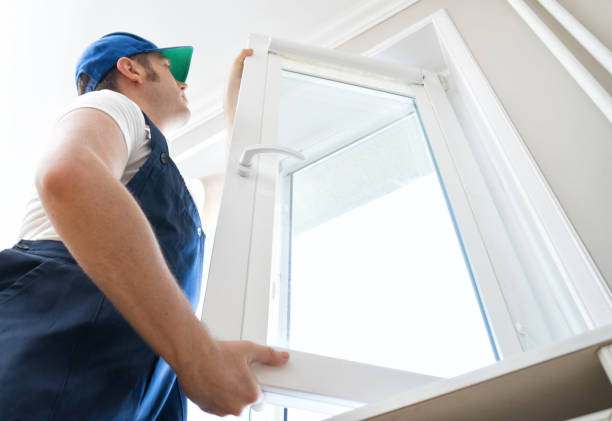
Once you have a clear area, you can begin the process of reinstalling the window frame. To start, you’ll need to carefully lift the frame back into place, making sure it’s level and flush with the surrounding walls. Use screws or nails to secure it back in place, being careful not to over-tighten and cause damage.
Once the frame is secure, you can reattach any hardware, such as latches or locks, and test the window to ensure it opens and closes smoothly. With the frame reinstalled properly, you can now enjoy a clear and clean view from your window.
Tips for Success
 For a seamless reinstallation, it’s essential to ensure the area around the frame is clear of any obstacles. Check the gutter, roof siding, driveway, and sidewalk for any debris or obstructions that may interfere with the installation process.
Clearing the area will make it easier for you to move around and prevent any accidental mishaps that may damage the frame or the surrounding walls. Another tip for success is to be careful not to over-tighten the screws or nails.
While you want the frame to be secure and stable, over-tightening can damage the wood or the surrounding area. Use just enough force to secure the frame, and make sure you test it before finishing up.
With these tips in mind, you’ll be able to reinstall your window frame with ease and confidence.
Tools and Materials Needed
Now that you’ve learned some tips for success when removing windows for cleaning, let’s talk about the specific tools and materials you’ll need to get the job done right.
First of all, you’ll need a sturdy ladder that can safely reach the height of your windows. Make sure to inspect the ladder beforehand and check for any defects or damage that could make it unsafe to use.
In addition to the ladder, you’ll also need a few basic tools such as a screwdriver, pliers, and a putty knife. These will come in handy when removing any screws or hardware holding the window in place, as well as scraping away any old caulking or adhesive.
Other materials you may need include a bucket, soap and water, a sponge or soft cloth for cleaning, and a drop cloth to protect your driveway or sidewalk from any debris that falls during the removal process.
With these tools and materials in hand, you’ll be well-prepared to tackle the task of removing your windows for a thorough cleaning.
Safety Precautions
 Before tackling the job of cleaning your windows, it’s important to take necessary safety precautions.
First and foremost, make sure to use a sturdy and reliable ladder that can support your weight. Place the ladder on a level and stable surface, such as your driveway or sidewalk, and avoid leaning it against the gutter, roof siding, or any other unstable surface.
It’s also a good idea to have someone hold the ladder steady while you work, especially if you’re going to be up high.
Another important safety precaution to take is to avoid working near a pool or any other body of water. Water can make surfaces slippery and increase the risk of falls and injuries.
Additionally, never lean out of a window or overreach while standing on a ladder. If you need to reach a difficult spot, move the ladder instead of trying to stretch to reach it.
By taking these safety precautions, you can make sure that you’re able to safely remove your windows for cleaning without putting yourself at risk of injury.
Conclusion
Congratulations, you’ve successfully removed and cleaned your window pane! You can now enjoy the benefits of having crystal clear windows that allow more natural light into your home.
Remember to always take safety precautions when handling glass and to use the proper tools and materials to avoid damaging your window or injuring yourself.
To ensure a successful outcome, carefully follow the steps outlined in this article and don’t be afraid to ask for help if needed. With a little bit of effort and patience, you can easily remove and clean your windows, improving the overall appearance and functionality of your home.
So, go ahead and give it a try! Your windows will thank you.

Recent Comments