Looking to give your windows a thorough cleaning? Removing the window for cleaning is a simple task that can make a big difference in the appearance of your home. By following a few steps, you can easily remove the window for cleaning and ensure a streak-free shine.
In this article, we will guide you through the process of removing your window for cleaning, from taking off the window frame to reinstalling the window hardware. We will also provide you with tips for maintenance and prevention to keep your windows looking their best.
Remember to follow safety precautions and gather the necessary supplies before starting. So, get ready to let the sunshine in and learn how to remove your window for a sparkling clean!
Removing Window Screens
 To make your window cleaning process a breeze, start by gently popping out those window screens. Removing screens is an essential step in ensuring a thorough cleaning of your windows.
First, locate the tabs or clips on the screen frame. Carefully push or pull these tabs to release the screen from its position. Once the tabs are released, hold the screen firmly and pull it towards you. Be cautious not to bend or damage the screen while removing it.
If the screen seems stuck, use a flathead screwdriver to gently pry it loose. Once removed, place the screens on a clean surface and clean them separately using a mild detergent and water.
By removing the screens before cleaning the windows, you can achieve a streak-free shine and a more enjoyable cleaning experience.
Safety Precautions
Before starting, make sure to take necessary precautions to ensure your safety while tidying up the glass. When it comes to cleaning windows, safety should always be the top priority.
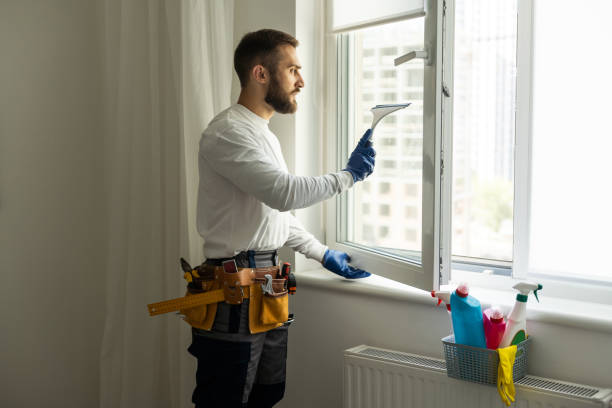
First, make sure to wear protective gloves and safety glasses to prevent any injuries. It’s also important to choose a sturdy and stable ladder if you need to reach higher windows.
Before removing the window, check for any loose or broken glass and repair it if necessary. Additionally, be cautious of any electrical wires near the window and turn off the power to avoid accidents.
Lastly, if you’re working on an upper floor, use window guards or safety harnesses to prevent falls.
By following these safety precautions, you can remove the window and clean it without any risks.
Gathering Supplies
Make sure you have all the necessary supplies on hand before starting, so you can efficiently tidy up and enhance the appearance of your windows. Having the right tools will make the window cleaning process much easier and more effective.
Start by gathering a bucket, a squeegee, a scrubber or sponge, a microfiber cloth, and a cleaning solution specifically designed for windows. You may also want to have a ladder or step stool if you need to reach high windows. Having all these supplies ready will save you time and prevent any interruptions during the cleaning process.
Once you have everything gathered, you can confidently move on to the next article section, which will guide you through the steps of removing the window for cleaning.
Removing Window Hardware
Now it’s time to tackle those pesky window hardware – you’ll want to loosen and detach them from your windows to make the cleaning process a breeze.
Start by locating the screws or fasteners that hold the hardware in place. Grab a screwdriver and carefully loosen each screw, being sure not to strip the heads. Once the screws are loose, gently pull the hardware away from the window frame. Be cautious and take your time to avoid any damage.
If there are any stubborn hardware pieces that won’t budge, try using a lubricant like WD-40 to help loosen them. Once all the hardware is removed, set it aside in a safe place so you can easily reattach it later.
With the hardware out of the way, you can now move on to the next article section and focus on the actual cleaning process.
Taking off Window Frame
 Once you’ve successfully detached the window hardware, it’s time to experience the satisfying feeling of taking off the window frame. Start by locating the screws or clips that secure the window frame in place. Use a screwdriver or a pry bar to carefully remove these fasteners. Be gentle and take your time to avoid damaging the frame or the surrounding walls.
Once the screws or clips are removed, you can begin to carefully lift the window frame away from the window opening. It may require some effort, so be prepared to use a bit of strength. As you lift the frame, be mindful of any weatherstripping or caulking that may be attached.
Once the frame is removed, you can proceed with the cleaning process and enjoy the fresh, sparkling windows.
Cleaning the Window
Don’t miss the opportunity to reveal the true beauty of your windows by giving them a thorough and refreshing scrub. Cleaning your windows is an essential part of home maintenance, and it’s important to do it correctly.
To clean your windows, start by removing any dust or debris from the surface using a soft cloth or brush. Then, mix a solution of mild detergent and warm water in a bucket. Dip a sponge or window cleaning tool into the solution and gently scrub the window, focusing on any stubborn stains or dirt.
Afterward, rinse the window with clean water and use a squeegee to remove any excess moisture. Finally, dry the window with a lint-free cloth to prevent streaks.
Following these steps will ensure that your windows are sparkling clean and looking their best.
Cleaning the Window Frame
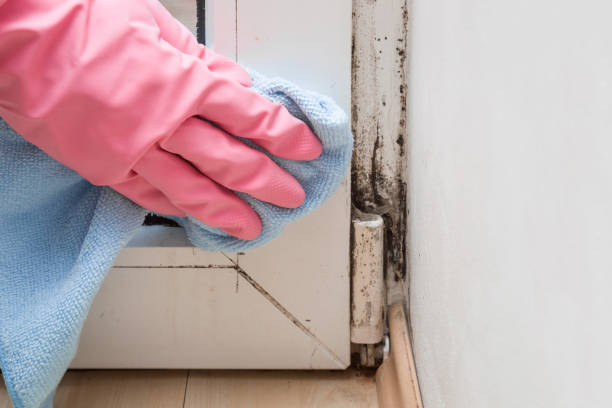
To make your window frames shine, all you need is a damp cloth and a gentle cleaning solution. Start by removing any loose dirt or debris from the frame using a dry cloth or a vacuum cleaner with a brush attachment.
Next, dip your cloth into the cleaning solution and wring out any excess liquid. Gently wipe down the entire frame, paying special attention to any stubborn stains or dirt buildup. For hard-to-reach areas, use a small brush or a toothbrush to scrub away grime.
Once you have thoroughly cleaned the frame, use a dry cloth to wipe away any remaining moisture. Finally, step back and admire your sparkling clean window frames. With just a little bit of effort, your frames will look as good as new.
Replacing the Window
If you’re ready for a fresh look, it’s time to consider replacing your old, worn-out window. Replacing a window may seem like a daunting task, but with the right tools and a little patience, you can do it yourself.
Start by removing the old window. Carefully remove any trim or caulk around the window frame using a putty knife. Once the trim is removed, you can easily remove the window from the frame. Make sure to clean the window frame thoroughly before installing the new one.
Measure the dimensions of the window opening and purchase a new window that fits properly. Follow the manufacturer’s instructions for installing the new window, making sure to secure it tightly in the frame.
With a little effort, you can replace your old window and enjoy a fresh, clean look in your home.
Reinstalling Window Hardware
Now that you’ve successfully replaced your window, it’s time to bring it back to life by reinstalling the hardware and giving it that finishing touch.
Start by gathering all the necessary tools such as a screwdriver, window cleaner, and a soft cloth.
Begin by removing any dirt or debris from the windows using the window cleaner and cloth.
Once the windows are clean, carefully reinstall the window hardware, including locks, handles, and hinges. Make sure each piece is securely fastened and aligned properly.
Test the functionality of the hardware by opening and closing the window to ensure it’s working smoothly.
Finally, give the windows one last wipe down to remove any fingerprints or smudges, and admire the sparkling clean windows that are now ready to let in the sunshine.
Tips for Maintenance and Prevention
 Once you’ve finished reinstalling the hardware, don’t forget these helpful tips for maintaining and preventing future issues with your windows.
Regular window cleaning is essential to keep them looking their best and to prevent dirt and grime buildup. Use a mild detergent and warm water to clean the glass, and avoid using abrasive materials that could scratch the surface.
It’s also important to regularly inspect the window frames for any signs of damage or wear. If you notice any cracks or gaps, seal them with caulk to prevent drafts and moisture from entering.
Additionally, lubricate the window tracks and hinges annually to ensure smooth operation.
By following these simple maintenance and prevention tips, you can keep your windows in great condition for years to come.
Conclusion
In conclusion, removing and cleaning your window screens can be a simple and necessary task to keep your windows looking their best. By following the proper safety precautions and gathering the necessary supplies, you can easily remove the window hardware and frame, clean them thoroughly, and then replace them.
By taking the time to properly maintain and prevent buildup on your windows, you can enjoy clean and clear views for years to come.

Recent Comments